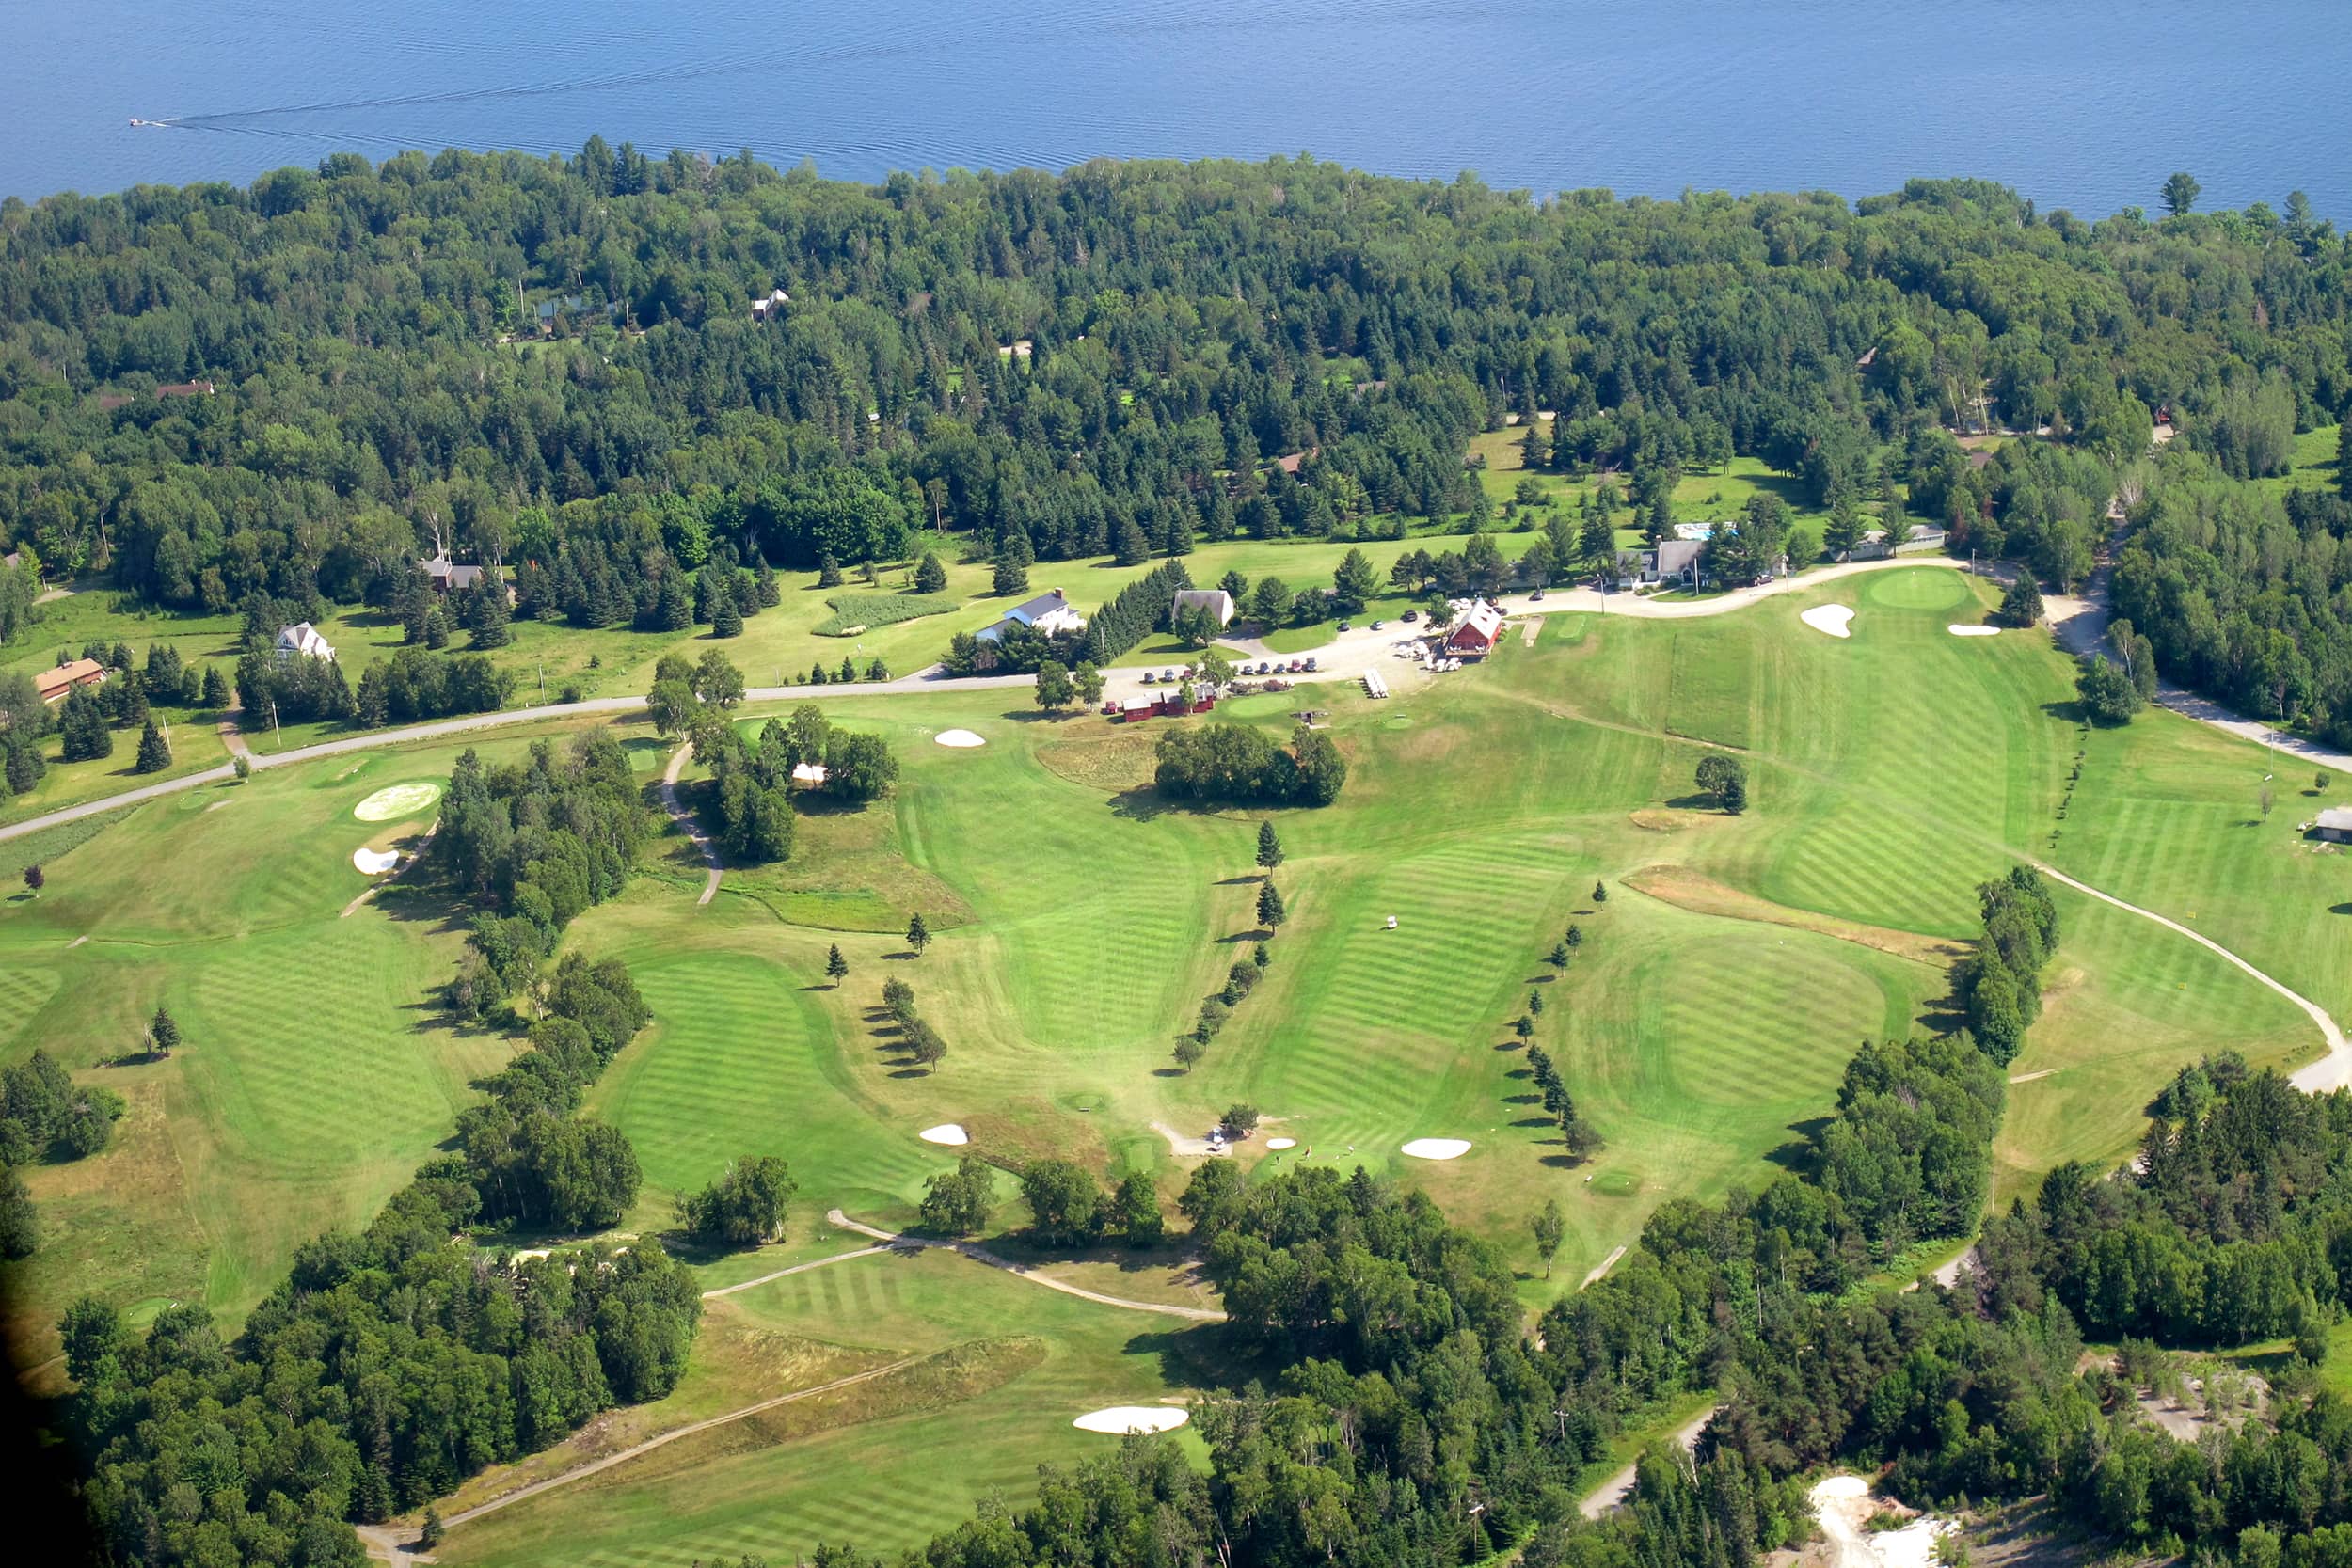
Mingo’s 18 Holes
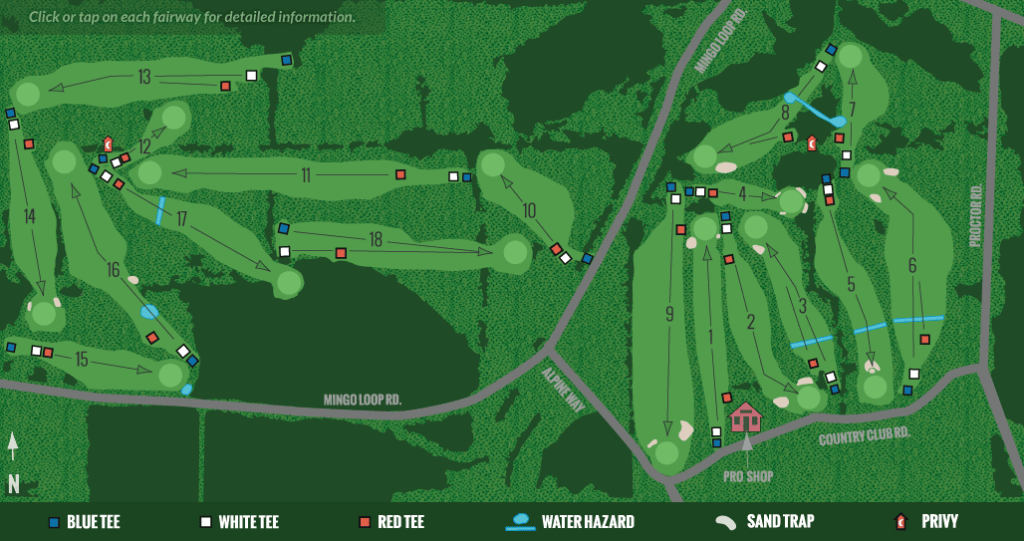
Mingo is best played by angles, not by length. The course, while relatively short compared to many newer courses, is challenging for even the longest hitters because it rewards accuracy over power, at least most of the time. The front nine is more open than the back, but it’s also much hillier. There is challenging and enjoyable golf to be had at every turn.
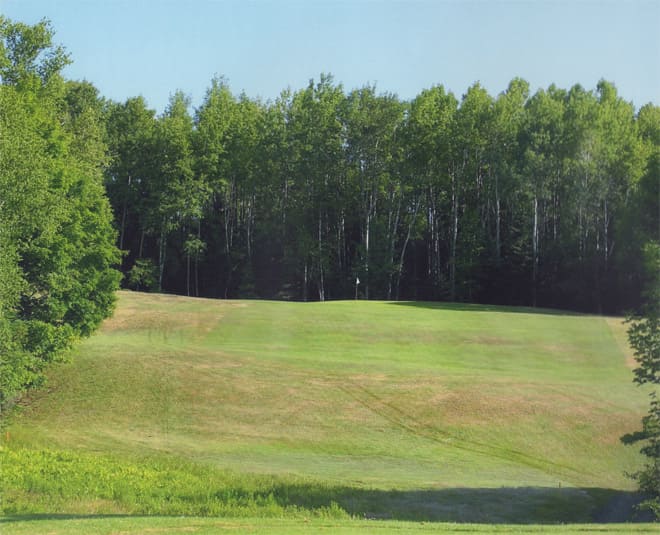
Hole #1
Par 4 – Handicap 9
The 1st fairway is wide and the rough forgiving. The only real trouble here is for true miss-hits but the hole is playable from the 2nd fairway as well. The challenge of the 1st Hole arises from a small and elevated green, with trouble at the back.
Blue: 360 • White: 350 • Red: 290
Hole #2
par 4 – handicap 11
Beware the left side. The drive is downhill. Hidden at the bottom is a hazard of thick and often very wet rough. Approach from the left and the elevated green is guarded by a line of trees. Keep your drive to the right hand side and the green will open up for you.
Blue: 385 • White: 375 • Red: 345
Hole #3
par 4 – handicap 3
The longest drives will find the right side and a better route to the green. If you’re short and right, you’ll regret it. It is uphill all the way even once you reach the fairway. The green is protected on three sides by rough and pitched heavily to the front.
Blue: 385 • White: 375 • Red: 350
Hole #4
par 4 – handicap 17
The 4th is the first par 3 on the course. The tee shot is straightforward, with visible traps to the left and right, and two hidden behind the green. The old-timers at Mingo used to like to run the ball up onto the green, and they could do it almost every time.
Blue: 173 • White: 150 • Red: 147
Hole #5
par 4 – handicap 5
Long drives often find their way into a gully at the bottom of the landing area. Little is gained by landing past it and more is risked. A stream crosses between the landing area and a steep incline. Two sand traps protect the green, which pitches left toward the lake. The wind is also right to left, most of the time.
Blue: 360 • White: 360 • Red: 315
Hole #6
par 4 – handicap 1
A long, difficult par 4 with what appears to be a generously sized fairway. Nevertheless, tee shots that go right make the hole much longer and those that go left promise a large birch tree will be directly between you and the green. The green is also surprisingly difficult; it slopes back to front and left to right over most of its area.
Blue: 391 • White: 388 • Red: 325
Hole #7
par 3 – handicap 15
This par 3 hole features the smallest green on the course. Notwithstanding its handicap, it should rate as one of the more difficult challenges, especially from the blue tees. No one birdies this hole from the blue tees, and few find pars.
Blue: 225 • White: 177 • Red: 130

Hole #8
par 4 – handicap 18
This dogleg to the right tempts long-hitters to cut the corner. Failure here is costly. The flat elevated green sits high above the fairway. The closer you get to the base of the slope, the less you will see of the green, making even the shortest second shots extremely challenging.
Blue: 318 • White: 318 • Red: 170
Hole #9
par 5 – handicap 7
The first par 5 on the course. The drive is open, but one has to fly the ball at least 220 yards to land safely in the best part of the fairway. From there the green is reachable in two but is protected by traps front and left and out of bounds back and right.
Blue: 470 • White: 455 • Red: 410
Hole #10
par 4 – handicap 16
Play the wind or pay the price, by coming up short of the undulating green. Going long doesn’t help much more as you’ll face one of the more challenging chips on the course. Better yet, land it on the green in regulation.
Blue: 190 • White: 152 • Red: 150
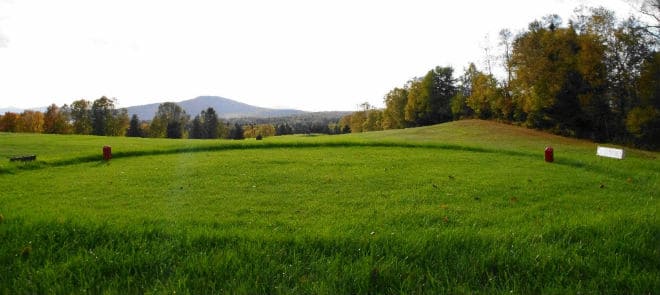
Hole #11
par 5 – handicap 8
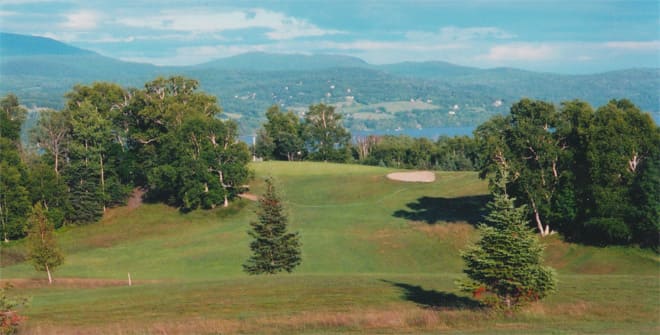
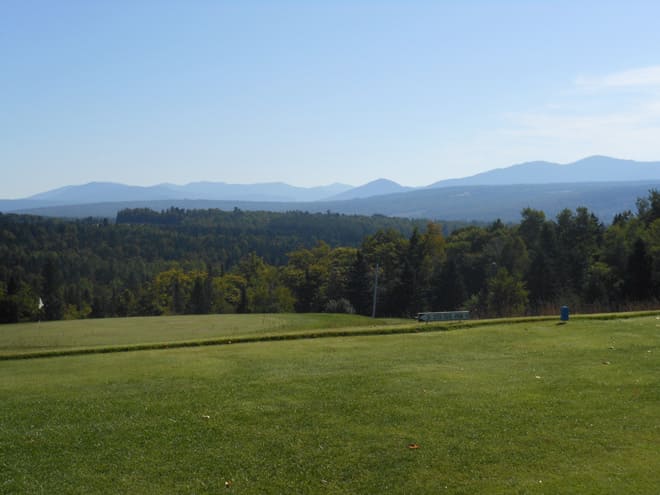
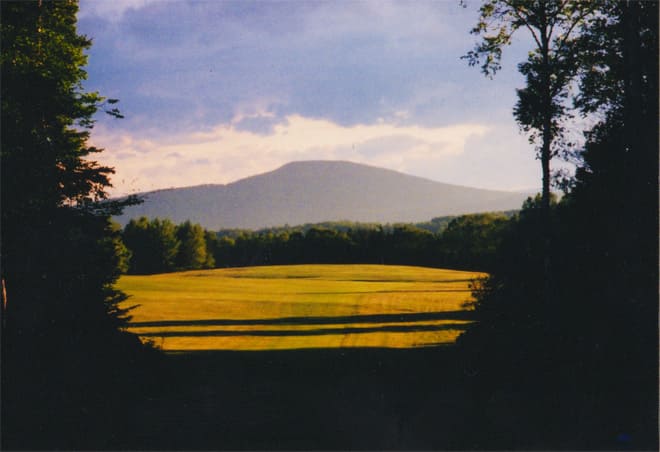
The 11th Hole is the longest hole on the course and the tee box offers a sprawling vista of rolling hills and two lakes: Rangeley and Mooselookmeguntic. Its challenge arises not only from its length but also from a deceptively narrow landing area. Stay left.
Blue: 530 • White: 522 • Red: 430
Hole #12
par 3 – handicap 18
The last par 3 you’ll see on the course, the twelfth hole is tantalizingly short. The green is smaller than it looks from the tee box next to the old gazebo. Thankfully, there is little trouble near the green.
Blue: 160 • White: 133 • Red: 125
Hole #13
par 5 – handicap 6
The 13th tee box, recently moved back, offers a challenging tee shot through a narrow gauntlet of tall birch trees. It is reachable in 2 but you won’t get the satisfaction of seeing your ball settle on the green. The approach is blind so aim for the circle on the middle tree.
Blue: 512 • White: 468 • Red: 460

Hole #14
par 4 – handicap 12
On a rainy day, a golfer could decide she was in the British Isles as mounds, gullies and thorny underbrush on the right protect the relatively large green. However, the evergreen trees on the left are pure Maine, as is the thick old growth forest on the right that is better avoided.
Blue: 365 • White: 360 • Red: 300
Hole #15
par 4 – handicap 14
The tee abuts the pro shop of the old course, now a private home. There is out of bounds to the right, the danger of which is exacerbated by the natural left-to-right slope of the fairway toward the lake. The green, one of the flattest on the course, is close enough to the thick woods at the back that a hard shot has been known to catch green but skitter into the darkness.
Blue: 365 • White: 360 • Red: 300
Hole #16
par 4 – handicap 2
The 16th may be the second hardest hole on the course, but you wouldn’t know it, particularly with the newly configured elevated green. Many think this hole plays more like a par 5. The dogleg right demands accuracy; the long approach requires length and the green, a deft touch.
Blue: 424 • White: 370 • Red: 250
Hole #17
par 4 – handicap 10
The rough to the right of the 17th is more harrowing than is apparent. Balls are lost there more often than they are found. The left side offers a flat lie and an opportunity (perhaps a command) to play a bump and run approach to the deceptively quick green.
Blue: 365 • White: 363 • Red: 323
Hole #18
par 4 – handicap 4
The 18th provides a classic finish. Drives are better right (but not too far) than left. Unlike many holes, approach shots remain in full view of the golfer all the way to the pin. A birdie here isn’t unheard of and provides satisfaction for the ride back to the Club House.
Blue: 396 • White: 395 • Red: 283